
How to Use a Telescope in Light-Polluted UK Skies: A Beginner's Guide
Buying a telescope and pointing it at an orange-washed town sky is one of astronomy's more reliable disappointments. The Moon looks fine, then you swing towards a faint galaxy and see nothing at all. Usually the problem is not the telescope or the postcode — it is technique. A city garden can still deliver Jupiter's cloud belts, sharp craters along the lunar terminator, coloured double stars and a decent handful of clusters. You simply have to work a little harder for them.
What a town sky will and will not show you
Light pollution brightens the background sky rather than the objects themselves. Stars are effectively point sources, so their light stays concentrated and survives; nebulae, galaxies and the Milky Way are spread out and get swamped. That gives you a rough rule for expectations.
The Moon and planets are barely affected. Double stars, bright open clusters and a few emission nebulae hold up well. Most galaxies and faint planetary nebulae do not, and no filter will bring them back from a suburban street. From a town garden, a 150 mm reflector might show the Hercules Cluster as a misty ball rather than a resolved swarm of stars, while the Orion Nebula remains genuinely impressive. Neither result means the kit is faulty.
Setting up for the darkness you actually have
Give your eyes time
Dark adaptation takes around twenty to thirty minutes and a single glance at a phone screen destroys it. Set the phone to a red filter if you must use it, or leave it indoors. A red head torch costs very little and keeps both hands free for eyepieces and charts.
Deal with the nearest lights
You cannot fix the street, but you can fix your corner of it. Position the telescope so that the brightest lamp is behind you or blocked by a fence, hedge or shed. An observing hood — a dark cloth draped over your head and the eyepiece — makes a surprising difference, because it shields your eye rather than the sky. If a neighbour's security light is the main offender, a polite conversation usually achieves more than any gadget. Observing over a warm roof or tarmac is worth avoiding too, since rising heat blurs everything.
Cool the tube and align the finder
A telescope taken from a warm room needs twenty to thirty minutes outside before the views settle; larger instruments need longer. Use that time to check the finder. Do this in daylight: point the scope at a distant chimney or pylon, centre it in the main eyepiece at low power, then adjust the finder's screws until the same object sits on its crosshair. Doing it in the dark is an exercise in frustration.
Equipment that earns its place
- Aperture first. A 130–200 mm reflector or a 90–100 mm refractor gathers enough light for clusters and planets. Ignore boxes advertising absurd magnifications.
- Two sensible eyepieces. Something around 25 mm for wide views and a 9–10 mm for planets and doubles will cover most nights. A 2x Barlow is useful; stacking two is not.
- A narrowband filter. A UHC-type filter helps emission nebulae such as Orion. Cheap "sky glow" filters often just dim everything, including the object.
- Dew protection. A dew shield and a microfibre cloth save many a British session. Dew arrives fast once the temperature drops.
- A red-dot or Telrad finder. Far easier than a magnifying finder when you are hopping between stars.
- Something to sit on. An adjustable stool keeps you at the eyepiece for hours instead of minutes.
Star-hopping without an app
Phone apps are convenient, but learning to hop by eye builds a mental map of the sky, works when a battery dies and — crucially — teaches you where you actually are. The method is straightforward.
- Start from a bright anchor: a planet, or a star like Vega, Arcturus or Sirius. Something you can never mistake.
- Work out your field of view. Divide the eyepiece's apparent field by the magnification. A 25 mm eyepiece with a 50° apparent field at 40x gives roughly 1.25°, so about two full Moons.
- Use the finder to get close, then drop to low power and look for the pattern, not a single star.
- Move in steps, counting fields: "one field left to the triangle, then two down."
- At arm's length, your clenched fist spans about ten degrees — a handy rough measure for printed charts.
If you get lost, go back to the anchor star and start again. Everyone does this, including people who have been observing for years.
A black-and-white printed chart in a plastic wallet, plus a dim red light, is often quicker than a screen. Keep both eyes open while looking through the finder; the sky stays oriented that way.
Targets worth chasing from town
- The Moon. Best along the terminator, where shadows are longest. High power is genuinely usable here.
- Jupiter and Saturn. Jupiter's four bright moons are visible in almost any telescope; its cloud belts appear on steady nights. Saturn's rings need around 100x.
- Venus. Its phases are easy to follow and change noticeably over weeks.
- Albireo in Cygnus. A blue-and-gold double that looks good even with a streetlight overhead.
- Mizar and Alcor in the Plough, and the Double Cluster in Perseus in autumn.
- The Pleiades and the Beehive Cluster — wide, bright and forgiving.
- The Orion Nebula. Visible from town; a narrowband filter improves the contrast.
Timing, weather and a few techniques
Deep-sky objects are best in the week around a new Moon; save lunar and planetary work for when the Moon is up. Objects highest in the sky give the clearest views, because you are looking through less atmosphere, so plan around the time a target crosses its highest point.
Steady air suits planets; transparent air suits faint objects, and the two rarely coincide. On a wobbly night, resist the temptation to push magnification past roughly twice per millimetre of aperture. Use averted vision for anything faint: look slightly to one side of the object and it will often appear. Keep a simple logbook of date, target and what you saw — the notes become far more useful than you expect.
Your first hour in a town garden
Set the telescope outside an hour before dark, align the finder while there is still light, and let the tube cool while you eat. Once it is properly dark, start with the easiest thing in the sky — the Moon, or Jupiter if it is up — and spend twenty minutes there rather than rushing. When your eyes have settled, try one star hop to a double or cluster using a printed chart. Pack up dry, cap the optics and leave the eyepieces indoors overnight.
If you want company, a local astronomy club will usually let you look through a range of instruments before you spend anything else, and their darker observing sites are often only half an hour up the road.
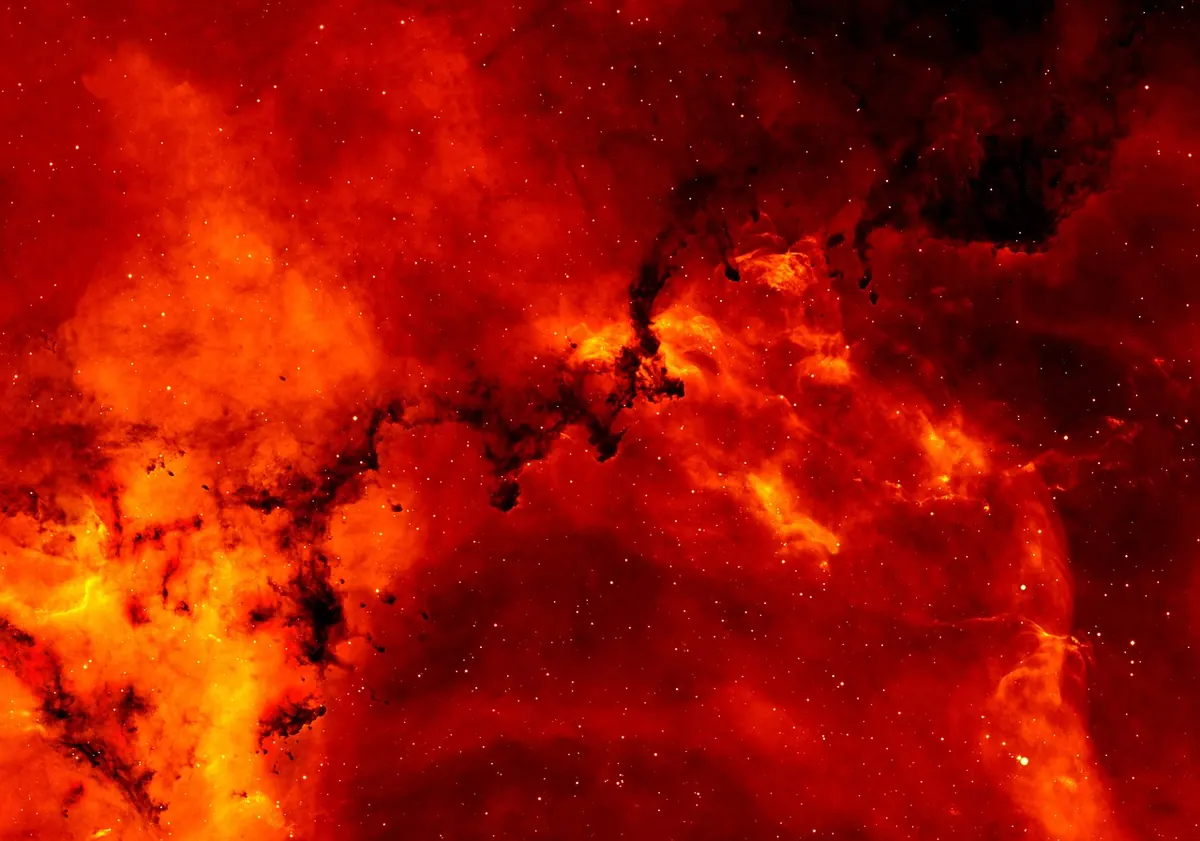
Photo: WikiImages / Pixabay